Essential Sewing Terms for Beginners
- vicki86
- Sep 18, 2024
- 9 min read
Updated: Sep 18, 2024
Learn these ten essential sewing terms for beginners to speed up your progress and create more professional-looking projects.
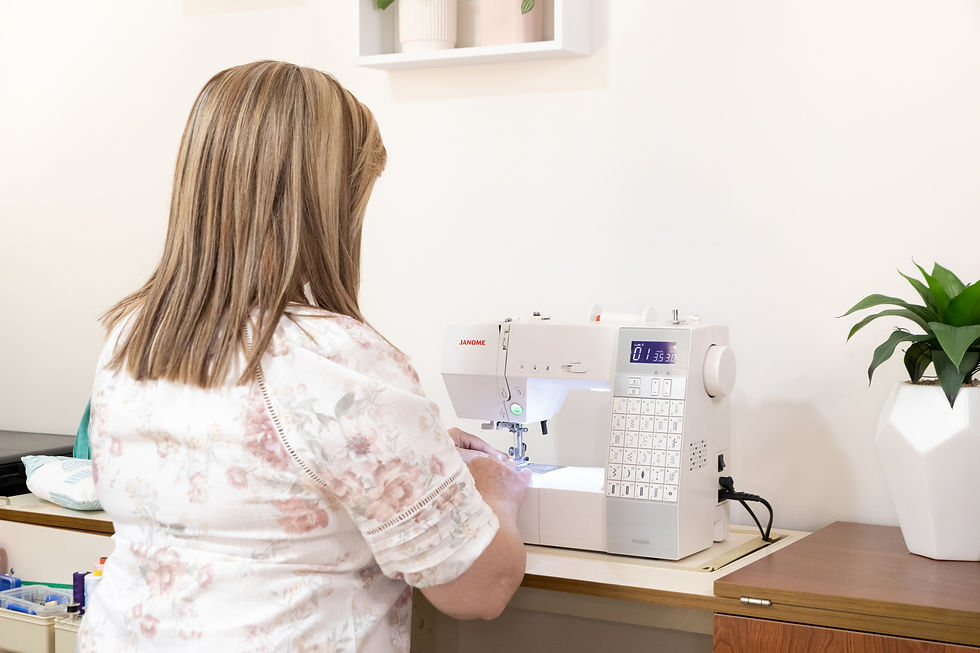
Learning to sew can sometimes feel like learning a new language. With so many terms and techniques to get familiar with, it’s easy to feel overwhelmed. This beginner’s sewing glossary will help you understand common terms so your projects are more enjoyable and have a more professional finish.
1. Backstitch
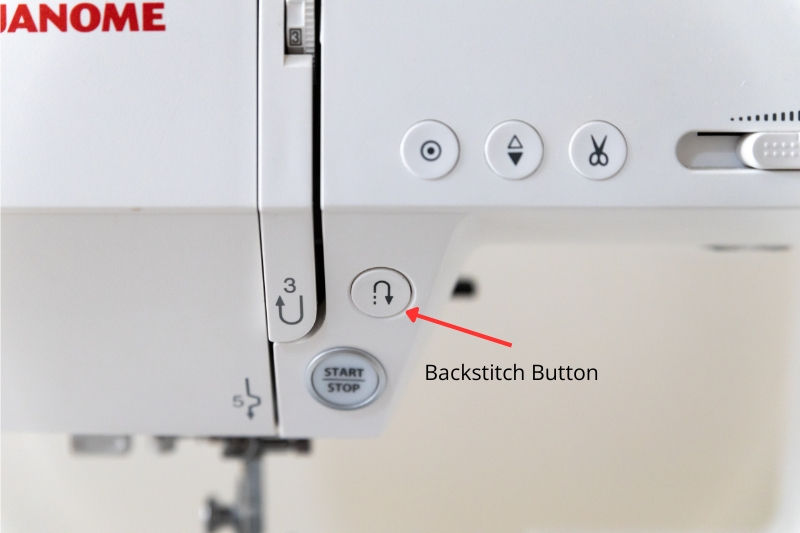
Backstitch is a sewing technique used to reinforce the beginning and end of a seam to prevent the stitches from unravelling. It is done by sewing a few stitches forward, then using the reverse button on your sewing machine to go back over those stitches, before sewing forwards again.
Backstitching is essential for ensuring your seams don't come undone. When you start sewing a seam, the first few stitches can be prone to unraveling if they’re not secured. Similarly, the end of a seam needs reinforcement to prevent it from coming apart. Backstitching solves these issues by reinforcing these critical points.
Tip: Always backstitch at the start and end of your seams, otherwise they may start to unravel over time, especially with regular wear and washing.
2. Seam Allowance
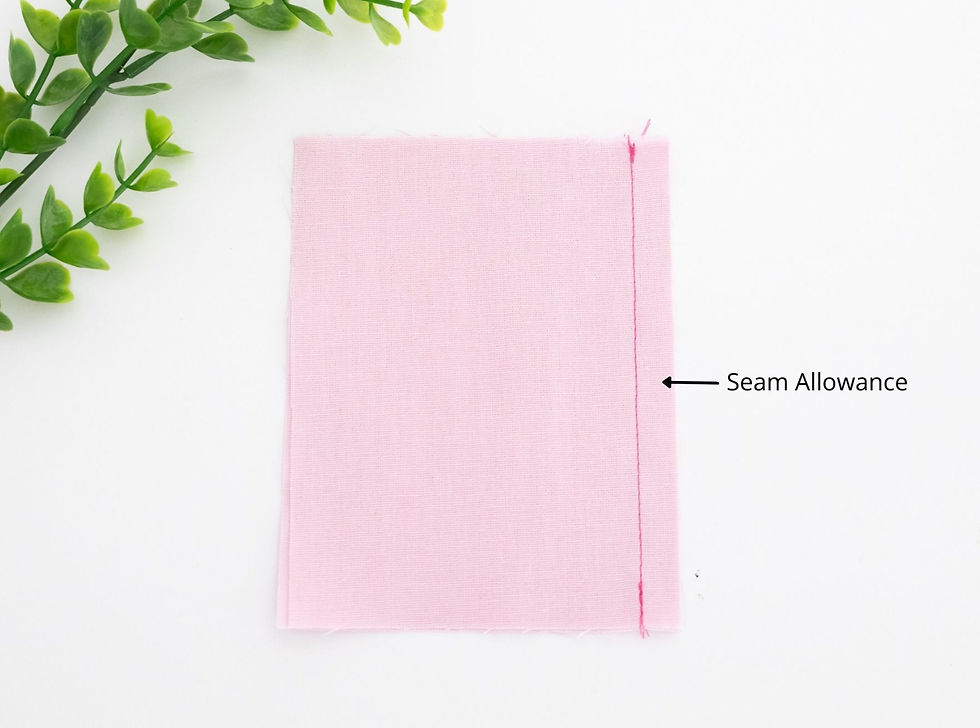
Seam allowance is the distance between the edge of the fabric and the stitching line. Common seam allowances are 0.6cm (1/4"), 1cm (3/8") and 1.5cm (5/8"). It's important to follow a pattern’s seam allowance instructions to ensure your project pieces fit together correctly and there is enough fabric to create a strong seam.
Seam allowances are important for:
Fit and Construction: The seam allowance determines how the fabric pieces come together. If you sew the wrong seam allowance, you might find that your pieces don’t align properly, which can affect the fit of garments or the overall shape of your project.
Finishing Seams: The seam allowance allows you to finish the edges of the fabric to prevent fraying. This can be done with techniques such as serging, zigzag stitching, or using pinking shears, depending on your project.
Pattern Accuracy: Sewing patterns are designed with specific seam allowances in mind. Following these measurements ensures that your project turns out as intended, with accurate dimensions and proportions.
Tip: When sewing, keep the edge of the fabric aligned with the seam allowance guide on your sewing machine to ensure that you sew at the correct distance from the edge. You could also mark your seam allowances with tailor’s chalk or a seam gauge to keep them even.
3. Right Side vs. Wrong Side
The "right side" of the fabric is the front, or the side you want to show on the finished project. The "wrong side" is the back, or the side that will be hidden.
Identifying the right and wrong sides of fabric is essential, especially when sewing garments, bags, or other projects where appearance matters. The right side of the fabric is often more vibrant or has a clear pattern or texture, while the wrong side is usually duller or lacks the print. Some fabrics, like printed cotton or satin, have a distinct difference between the two sides, but others, like solid-colored fabrics, may look almost identical.
When sewing pieces together, the right sides of the fabric are usually placed together so the seam is hidden on the inside. However, when finishing seams or adding details, such as hems or decorative stitching, you’ll often work with the right side up.
Tip: If the difference isn’t obvious, mark the wrong side with a small piece of tape or a chalk mark.

4. Selvedge
The selvedge (or selvage) is the self-finished edge of a fabric that runs parallel to the lengthwise grain. It is created during the weaving process and is typically finished to prevent fraying and unraveling.
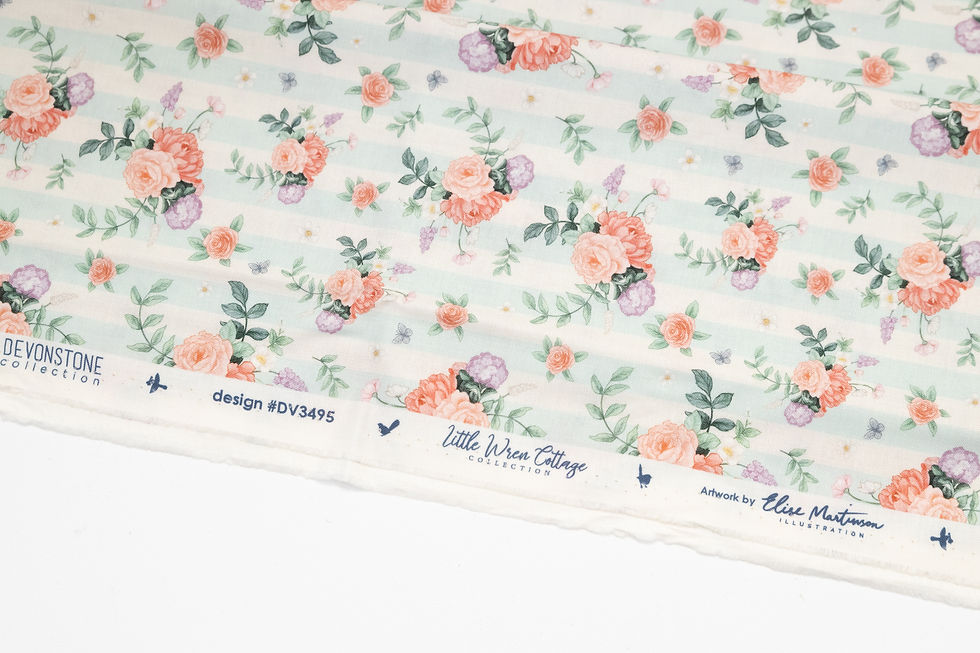
Selvedge edges usually have a distinct appearance. They may be slightly thicker, more tightly woven, and can include unique features such as printed text indicating the manufacturer, fabric type or other details such dots to show what colours have been used to print the fabric. They are often a solid, unfrayed edge that stands out from the rest of the fabric.
When cutting fabric for a project, it’s important to note that the selvedge should not be included in pattern pieces unless specified. Using selvedge in the project might affect the drape and fit of the finished item because of its different characteristics.
Tip: If you love a particular fabric and might want to buy more in the future, save the selvedge with the fabric’s brand name, color codes, or any unique identifiers.
5. Grainline
Grainline refers to the direction of the threads in the fabric, and it affects how the fabric behaves, so it is important to ensure your fabric pieces are cut out on the correct grain for the best fit and appearance of your finished project.
Fabric has two grainlines, as well as a bias.
Lengthwise Grain (Warp): The threads run parallel to the selvedge (the finished edges of the fabric). This grainline is the most stable and least likely to stretch, making it ideal for the main structure of garments, such as bodices and pants, and other projects like bags and purses.
Crosswise Grain (Weft): The threads run perpendicular to the selvedge. This grainline has more stretch and drape compared to the lengthwise grain. It's commonly used for parts that need flexibility, such as sleeves or skirt panels.
Bias: Bias refers to the diagonal direction of the fabric, at a 45-degree angle to both the lengthwise and crosswise grains. Cutting fabric on the bias allows it to stretch, making it useful for projects that require flexibility or drape, such as fitted garments or making bias tape. While bias isn’t technically a grain, it plays an important role in how fabric behaves when cut and sewn.
Patterns usually indicate the grainline with arrows on the pattern pieces. These arrows show how to align the pattern with the grain of the fabric.
Tip: Align your pattern pieces with the grainline to prevent stretching or distorting your finished project.

6. Bias
As mentioned in the point above, bias refers to the diagonal grain of the fabric, which runs at a 45-degree angle to both the lengthwise and crosswise grains. This grainline has unique properties that affect how fabric behaves and is used in sewing projects.
Fabric cut on the bias has a natural stretch and drape that allows it to conform to curves and contours. This is because the bias grain is not constrained by the stable lengthwise or crosswise grains, making it more flexible and able to stretch slightly.
The bias can provide a slight elastic quality, making it ideal for creating garments and accessories that need to hug curves or have a flowing, flexible fit.
Some uses for bias are:
Garment Construction: Bias-cut fabrics are often used for garments that require a lot of drape and movement, such as bias-cut dresses, skirts, or slip dresses. The bias allows the fabric to drape smoothly over the body and fit comfortably around curves.
Bias Tape: Bias tape is a strip of fabric cut on the bias and folded to use as a finishing edge or binding. It’s often used to bind raw edges, add decorative details, or create a neat finish on garments.
When cutting fabric on the bias, ensure that the pattern pieces are aligned at a 45-degree angle to the lengthwise grain. This alignment can be marked using a fabric ruler or bias tape guide. Be aware that bias-cut pieces can be more prone to stretching or distorting during sewing. To prevent this, handle bias-cut fabric carefully and use stabilizers or interfacing if necessary.
Tip: When sewing bias-cut pieces, use a shorter stitch length and consider using a walking foot to help manage the fabric’s stretch. Stay-stitching (sewing along the edge to prevent stretching) can also help maintain the fabric’s shape.

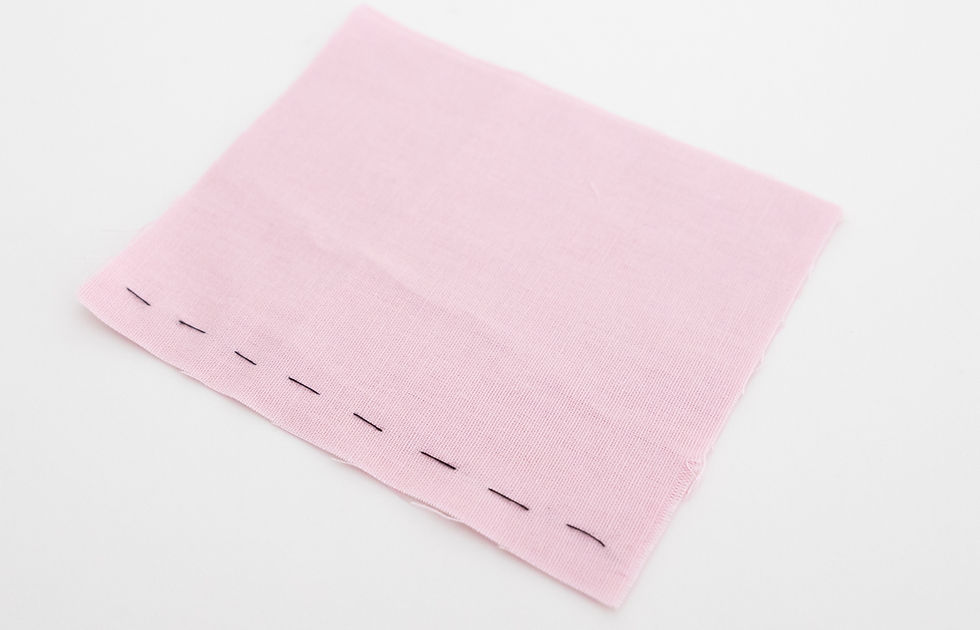
7. Basting
Basting is a temporary stitching technique, either by hand or machine, used to hold fabric pieces together before final sewing. It involves sewing with long, loose stitches that are easy to remove once the final stitching is completed.
Basting helps to stabilise and hold fabric pieces in place, making it easier to sew accurately and efficiently. It prevents fabric from shifting or bunching, which can lead to uneven seams or fit issues. It also allows you to make adjustments to the fit and placement of fabric pieces without committing to the final stitching right away.
With hand basting, a needle and thread is used to sew the long, loose stitches, usually in a contrasting thread for easy removal. It is useful when working with delicate fabrics, curved seams or when you need to make precise adjustments. It's also helpful when working on projects where machine basting might be too bulky.
To machine base, set your sewing machine to a long stitch length (usually 4 to 5mm) and sew a line of stitches without backstitching. Machine basting is quicker and is useful for holding large sections together, like in quilt piecing or large garment sections.
Tip: Use contrasting thread for basting so it's easier to remove later.
8. Stay-stitching
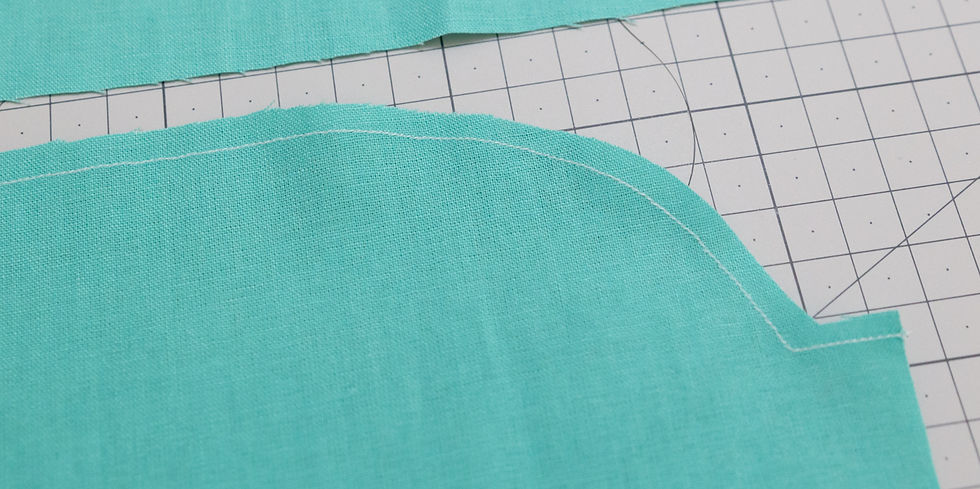
Stay-stitching is a sewing technique used to stabilise fabric edges and prevent them from stretching or distorting during construction. It involves sewing a line of stitches along the edge of a fabric piece before the final assembly or cutting.
Fabrics, especially those cut on the bias or made from lightweight or slippery materials, can stretch out of shape when handled. By stitching along the edges, staystitching ensures that the fabric maintains its intended shape and size, which is important for accurate fitting and construction.
Staystitching is typically done on fabric edges that will be sewn into seams, such as armholes, necklines, and waistlines. It is especially important for curved edges and bias-cut pieces. Use a straight stitch and a stitch length of about 1.5 to 2.0 mm and sew about 3 to 6 mm (1/8 to 1/4 inch) from the fabric edge. This line of stitches should be within the seam allowance to avoid visible stitching in the final garment.
Tip: For best results, sew in the direction of the fabric grain. When working with curves, sew in short, gentle curves to match the shape of the edge and avoid puckering.
9. Interfacing
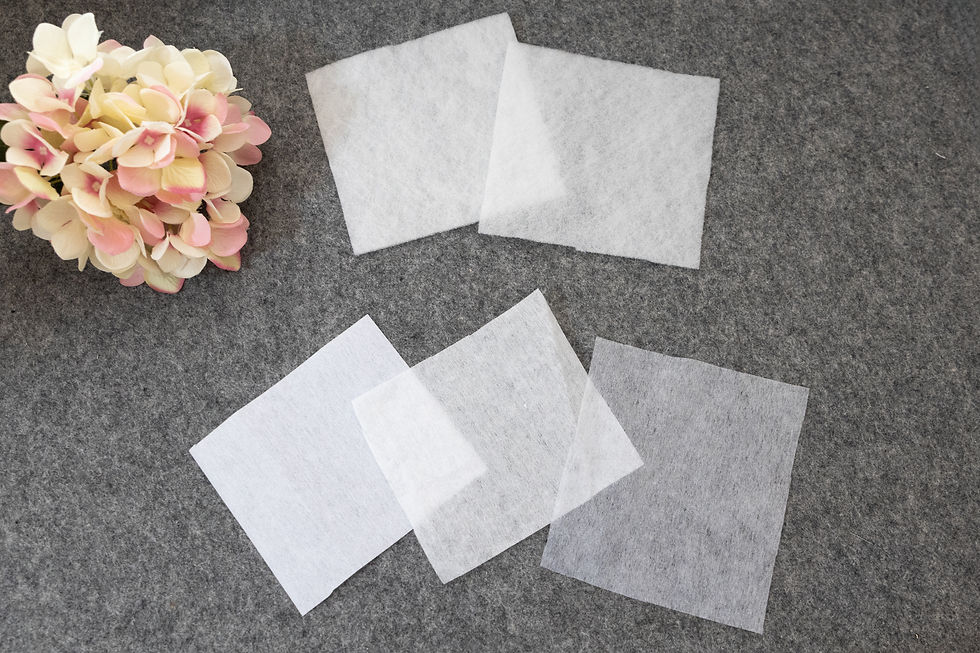
Interfacing is a type of fabric used to provide additional support, structure, and stability to various parts of a sewing project. It is typically used to reinforce areas that need extra firmness, such as collars, cuffs, waistbands, and other parts of garments. It is also used in accessories, such as bags and purses, to give them a crisp, finished look.
Interfacing comes in various weights and can be sew-in or fusible (iron on).
Fusible Interfacing:
Fusible interfacing has an adhesive coating on one side that bonds to the fabric when heat is applied with an iron. It’s easy to use and provides a permanent bond.
Sew-in Interfacing:
Sew-in interfacing does not have an adhesive coating and is attached to the fabric by sewing it in place. It can be made from various materials, including cotton, polyester, and nylon.
Interfacing helps maintain the shape and structure of fabric pieces and reinforces areas that experience stress or wear, such as buttonholes, ensuring they remain intact and function properly. Using the correct type of interfacing can improve the overall fit and appearance of your project by providing the right amount of support and flexibility.
When choosing interfacing, consider the following:
Fabric Type: Select an interfacing that complements the fabric of your project. Lightweight interfacing works well with delicate fabrics, while heavier interfacing is suitable for thicker materials.
Project Requirements: Consider whether you need fusible or sew-in interfacing based on the fabric’s characteristics and your project’s needs. Fusible interfacing is convenient for most applications, but sew-in may be necessary for specialty fabrics or when adhesive is undesirable.
Interfacing Material: Interfacing comes in various materials, such as cotton, polyester, or a blend. Choose the material that best matches the fabric and the level of stiffness required.
Tip: Choose the appropriate weight of interfacing for your fabric to avoid making it too stiff or too flimsy.
10. Notions
Notions are the various small tools, supplies, and accessories used in sewing and crafting to assist in the creation and finishing of projects. They complement the main fabric and patterns, adding functionality, decoration, or structural support.
There are several types of notions:
Sewing Tools: This category includes essential tools such as pins, needles, sewing machine feet, and seam rippers. Each tool has a specific function, such as holding fabric pieces together, guiding stitches, or correcting mistakes.
Fasteners: These are items used to close or secure parts of a garment or accessory. Common fasteners include zippers, buttons, hooks and eyes, and snaps.
Trimmings and Decorative Elements: These notions add finishing touches or embellishments to projects. Examples include ribbons, lace, appliqués, and embroidery floss.
Interfacing and Stabilisers: These materials provide support and structure to fabrics, helping to maintain shape and improve durability.
Thread and Elastic: Essential for sewing and adding stretch or shaping to garments.
Notions enhance sewing projects by providing necessary closures, support, or decorative elements. They are integral to achieving a well-constructed and finished item and they offer opportunities for customisation and personalisation, allowing you to add unique details and finishes to your projects.
Select notions based on the specific needs of your project. Consider the fabric type, intended use, and design elements. Choose high-quality notions that match the durability and requirements of your fabric to ensure a professional finish.
Tip: Ensure that notions are compatible with your sewing machine and fabric. For example, use the appropriate needle and thread for different types of fabric.

Conclusion
Now that you’re familiar with these essential sewing terms, it’s time to put your knowledge into practice! Whether you’re working on your first project or expanding your skills, understanding these basics will help you approach each step with more confidence and clarity. Take a look at my collection of easy-to-follow patterns for inspiration and resources that will guide you through your next sewing adventure.
If you have any questions, please contact me at vicki@vickielle.com.au


Comments